You just upgraded your Windows version to the newest Windows 7 and want to install Huawei E220 USB 3G/HSDPA Modem to access internet? If you use Slackware 12, Centos 5.4 or Fedora 12, click the link to follow the tutorials.
It is very easy to do it. As we know that Windows is the most used and familiar operating system around the planet. Just plug the modem into a USB port, it will automatically detect the device. For the driver, it will be installed automatically when you install the dialer of the modem.
In Windows XP, it will run the Autorun file of the modem to install the dialer and drivers several seconds after we plug the modem into a USB port. In Windows 7, we need to manually run the Autorun file by exploring to the storage inside the modem. The installation process should appear.
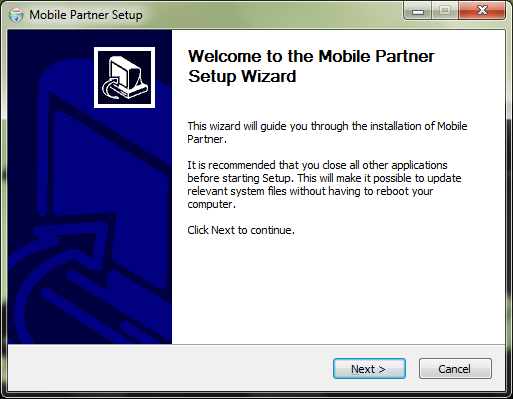
Click Next and just accept the default for the installation process. The installation should completely finish.

Now it is the time to run the dialer. There should be a ‘Mobile Partner’ icon in your Desktop. Double-click that icon to run the dialer.
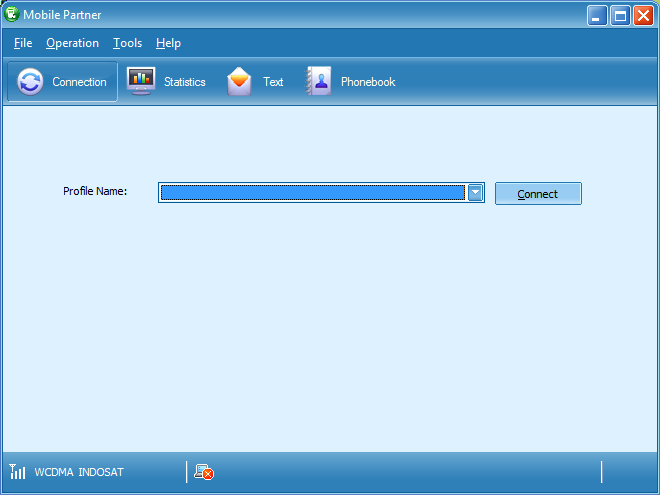
As you can see above, there is no Profile Name already configured. We need to create and configure the profile first. This profile must match to your account with your cellular operator. I use Indosat M2 Broom in Jakarta for example.
To create a profile name, click menu Tools > Options > Profile Management. In the Profile Management section, click New button to create a new profile.

You can create multiple profiles here depends on which provider you want to connect to. Click Save to save the profile.
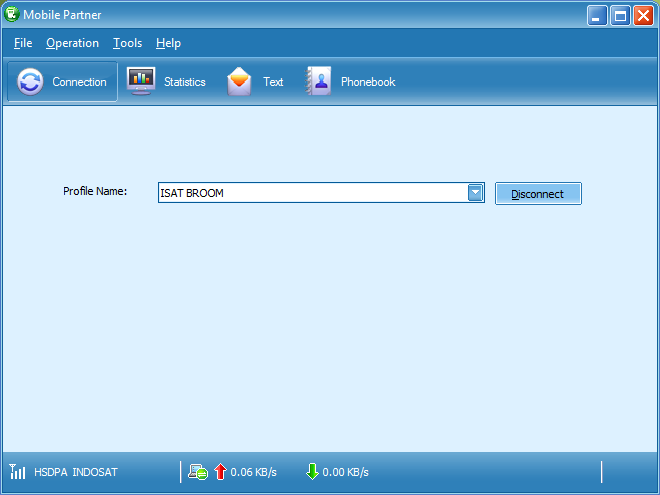
Now it is the time to dial the modem to connect to access internet through you provider. If authenticated, everything is done.