In a previous post, I have posted that my MacBook Pro 320 GB Hitachi HDD (hard disk drive) was replaced to 128GB Hynix SSD (solid state drive).
There are a few things that you need to do after replacing a disk / storage in Mac OS X. Remember that your current HDD with plenty / full of applications and data will be replaced with an empty disk. First step we have to install the new disk with an OS X (Mountain Lion), and then the next step is we have to transfer / import / migrate user accounts, applications and stored data / documents in the HDD to the new SSD.
Step how to use Migration Assistant
Follow the steps below to transfer / migrate applications, settings, and documents to a new disk in Mac OS X.
1. Create OS X Mountain Lion USB installer. You can follow this guide to do this job.
2. Boot up the Mac via USB thumb drive to install the OS X Mountain Lion on the new SSD. Follow the on-screen installation steps.
3. Once it is installed, connect the old Apple HDD to the Mac via a USB port. You can use a 2.5-inch USB 3.0 External Hard Drive Enclosure to do this.
4. Run Migration Assistant utility from Applications/Utilities folder.
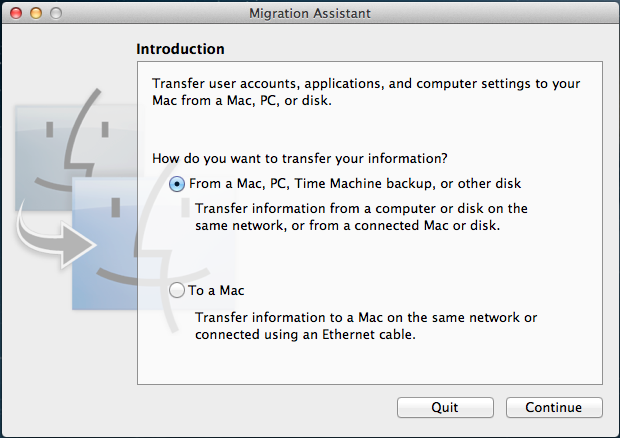
We will transfer information from a previous Apple HDD (a disk) to our new Mac, so select the first option. This option is also used to transfer information from a Mac, PC, and Time Machine backup. Click Continue to go to the next step. All applications will be closed because other applications can’t be open during migration.
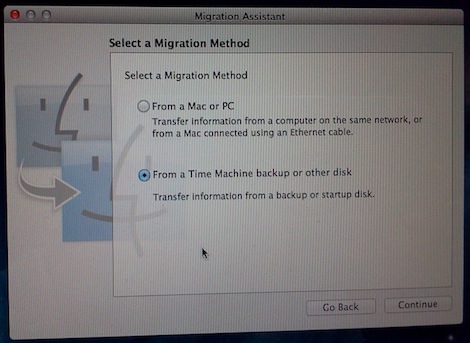
2. In the Migration Method, select transferring information from a Time Machine backup or other disk. Then click Continue.
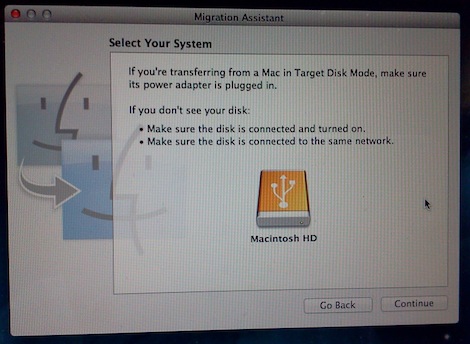
3. You should see the source disk in this step. If not, double check the disk that it is powered up and connected to the Mac
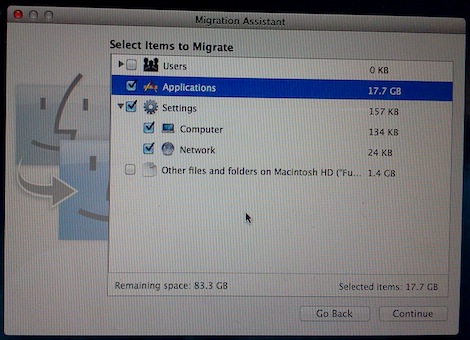
4. In this step, select the items to migrate. Because I just want to transfer the Applications and Settings, I deselect the Users and other options. Pay attention on the remaining space available on the target disk. Click Continue.
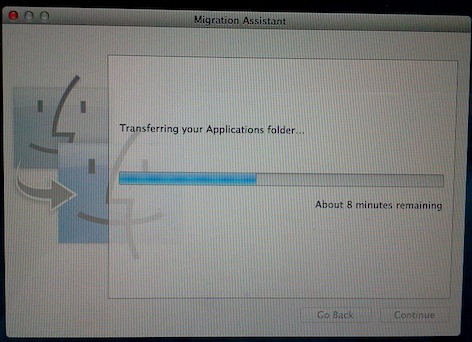
5. The transferring process is started. It takes several minutes to complete depending on how much space it will be transferred. Please wait and be patient!
