In my previous post, I have shown you step-by-step how to install ZPanel on CentOS 6.6 so your VPS / dedicated server is ready to hosting domains, webs, and emails.
In this post I would like to show you how to hosting domain. After you host the domain, you can later manage it to add a new zone record, delete, or edit the zone. For example I will create ‘domain1.com’.
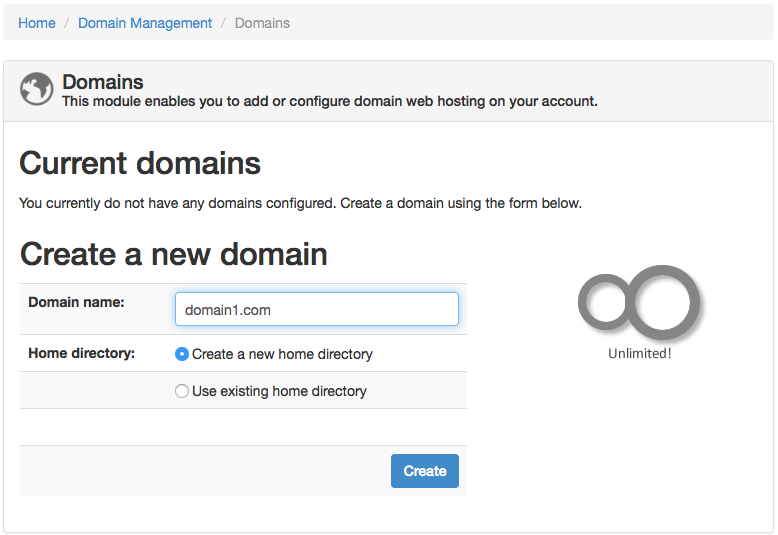
To create a new domain, navigate to Domain Management > Domains then type the domain you want to create in the Domain name field then click Create button.
After you click the Create button and no error occurs, you should see a message that changes to your domain has been successfully saved and you can see your domain listed under the Current domains.
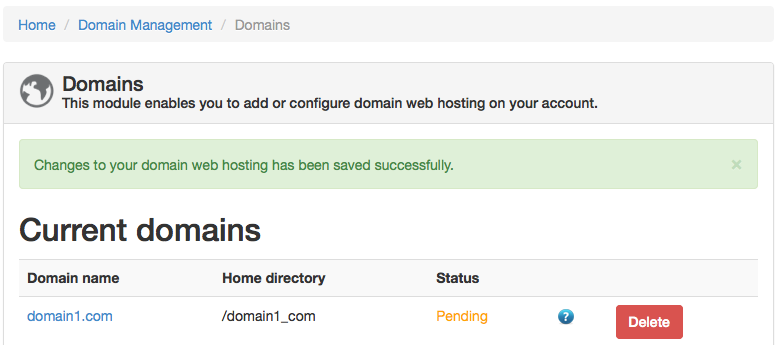
Do not panic if status of the domain is Pending. It is because you have not created yet any zone in the domain. Now navigate to Domain Management > DNS Manager to create / manage DNS records for your domain.
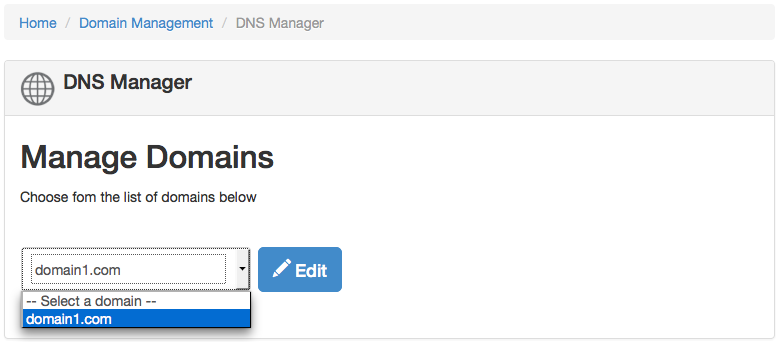
Choose the domain from the list of domain to manage it then click Edit. DNS records for your domain will be automatically generated.
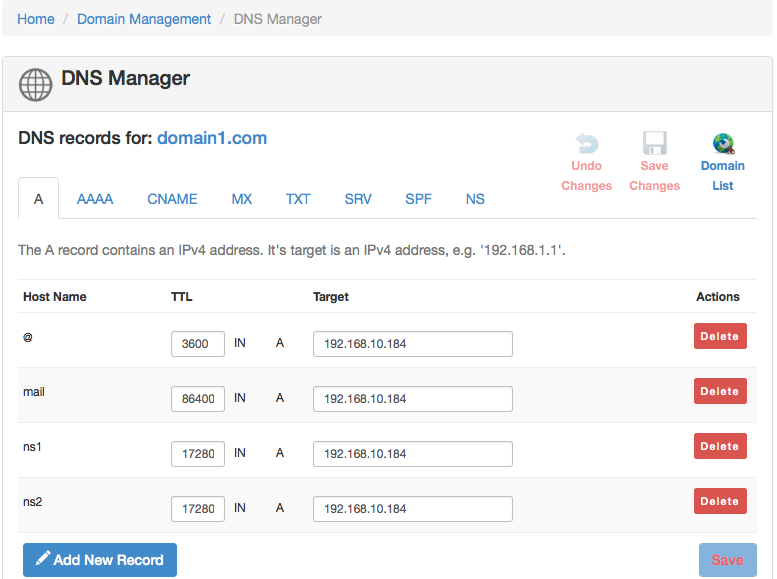
You can see above that, ZPanel automatically generated A records, CNAME record, MX record, and NS record for you. You can review the values. Let it as it is if you accept the value or change it to modify.
The system also tells you that the DNS zone has been loaded and can take up to 24 hours to propagate around the globe.
DNS Status for domain: domain1.com
    Your DNS zone has been loaded without errors.

Please note that changes to your zone records can take up to 24 hours before they become 'live'.

Output of DNS zone checker:
zone domain1.com/IN: loaded serial 2014121031 OK
You can now try to check the DNS records of your domain using DNS lookup utility ‘dig’ as below:
$ dig @192.168.10.184 domain1.com

; <<>> DiG 9.8.2rc1-RedHat-9.8.2-0.30.rc1.el6 <<>> @192.168.10.184 domain1.com
; (1 server found)
;; global options: +cmd
;; Got answer:
;; ->>HEADER<<- opcode: QUERY, status: NOERROR, id: 54716
;; flags: qr aa rd; QUERY: 1, ANSWER: 1, AUTHORITY: 2, ADDITIONAL: 2
;; WARNING: recursion requested but not available

;; QUESTION SECTION:
;domain1.com.            IN    A

;; ANSWER SECTION:
domain1.com.        3600    IN    A    192.168.10.184

;; AUTHORITY SECTION:
domain1.com.        172800    IN    NS    ns1.domain1.com.
domain1.com.        172800    IN    NS    ns2.domain1.com.

;; ADDITIONAL SECTION:
ns1.domain1.com.    172800    IN    A    192.168.10.184
ns2.domain1.com.    172800    IN    A    192.168.10.184

;; Query time: 0 msec
;; SERVER: 192.168.10.184#53(192.168.10.184)
;; WHEN: Wed Dec 10 11:45:00 2014
;; MSG SIZE  rcvd: 113
If you can see the output like above, it means that the domain has been created and configured correctly by ZPanel.
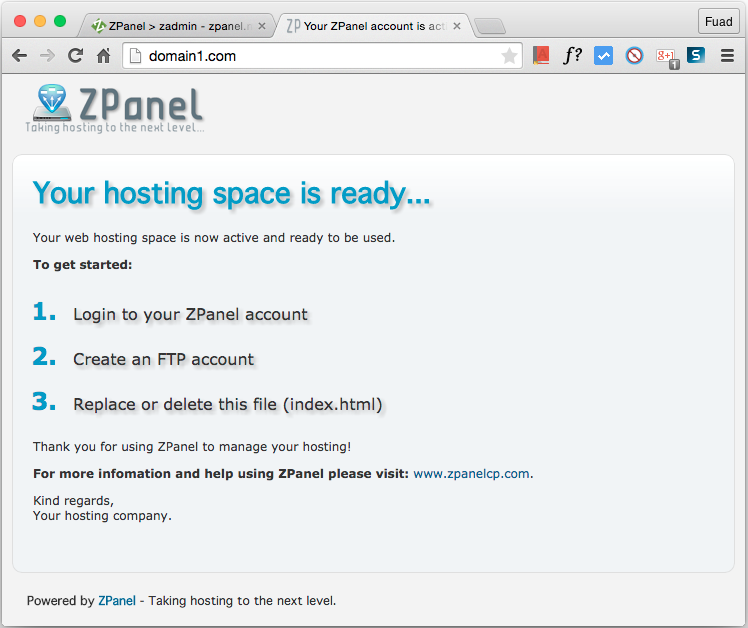
The web directory and sample data web files also automatically created during the domain creation above. You can verify that the default web page is already configured by using a web browser and point the address to your domain name (in this tutorial I use domain1.com or www.domain1.com). See image below!
In the next tutorial I will show you how to upload / put your web files so it can be accessible through web browsers as your website.