Are you looking for a web control panel software to manage your web sites? cPanel & WHM probably the de facto software you are looking for. It is absolutely the best web control panel software available out there at least until now. It is not free. You have to buy a license to use this software. However you can try it freely for 15 days. This brief article shows you how to install cPanel & WHM on CentOS 6.6.
As stated in the cPanel documentation, new installation of cPanel / WHM requires at least CentOS 6.0. At the time of this writing it does not support CentOS 7 operating system, so installing it on CentOS 7 will fail.
Here are step-by-step how to install cPanel / WHM on CentOS:
1. Download the minimal version of CentOS 6.6 ISO file from nearest mirror sites.
2. Burn the ISO file to a USB or CD/DVD drive and install it on your dedicated or VPS server. In case you are looking for a VPS provider, I recommend you to choose DigitalOcean as it is very easy to create a VPS / droplet there. Installing VPS in DigitalOcean is just in a few of clicks.
3. Set the FQDN hostname for the server as cPanel requires it must be correct. If it is already configured, you can skip. If not then make sure the below config files are set.
– in /etc/hostname set to something like below:
# cat /etc/hostname
cpanel.centos66.dev
– in /etc/hosts set to something like below:
# cat /etc/hosts
127.0.0.1   localhost localhost.localdomain localhost4 localhost4.localdomain4
::1         localhost localhost.localdomain localhost6 localhost6.localdomain6
192.168.10.235    cpanel.centos6.dev    cpanel
4. When the server is ready, as a root / superuser run the following command to install cPanel!. See this cPanel docs for detail reference.
# cd /home

# yum install wget

# wget -N http://httpupdate.cpanel.net/latest

# sh latest
The installation process will take 20-50 minutes depending on your hardware and internet speed. In DigitalOcean VPS server, it took around 95 minutes to complete. Please be patient while installing this software.
5. Once the installation completed, you should see the last few lines of installation process like below:
2015-03-16 06:23:07  182 ( INFO): cPanel install finished in 95 minutes and 32 seconds!
2015-03-16 06:23:07  718 ( INFO): Congratulations! Your installation of cPanel & WHM 11.48 is now complete. The next step is to configure your server.
2015-03-16 06:23:07  718 ( INFO):
2015-03-16 06:23:07  718 ( INFO): Before you configure your server, ensure that your firewall allows access on port 2087.
2015-03-16 06:23:07  718 ( INFO): On RHEL, CentOS, and CloudLinux systems, execute /scripts/configure_firewall_for_cpanel to accomplish this.
2015-03-16 06:23:07  718 ( INFO):
2015-03-16 06:23:07  718 ( INFO): After ensuring that your firewall allows access on port 2087, you can configure your server.
2015-03-16 06:23:07  718 ( INFO):
2015-03-16 06:23:07  718 ( INFO): 1. Open your preferred browser
2015-03-16 06:23:07  718 ( INFO):
2015-03-16 06:23:07  718 ( INFO): 2. Type https://198.199.xx.xxx:2087 in the address bar
2015-03-16 06:23:07  718 ( INFO):
2015-03-16 06:23:07  718 ( INFO): 3. Enter the word root in the Username text box
2015-03-16 06:23:07  718 ( INFO):
2015-03-16 06:23:07  718 ( INFO): 4. Enter your root password in the Password text box
2015-03-16 06:23:07  718 ( INFO):
2015-03-16 06:23:07  718 ( INFO): 5. Click the Login button
2015-03-16 06:23:07  718 ( INFO):
2015-03-16 06:23:07  718 ( INFO): Visit http://go.cpanel.net/whminit for more information about first-time configuration of your server.
2015-03-16 06:23:07  718 ( INFO):
2015-03-16 06:23:07  718 ( INFO): Visit http://support.cpanel.net or http://go.cpanel.net/whmfaq for additional support
2015-03-16 06:23:07  718 ( INFO):
2015-03-16 06:23:07  718 ( INFO): Thank you for installing cPanel & WHM 11.48!
2015-03-16 06:23:07  567 ( WARN): !!!!!!!!!!!!!!!!!!!!!!!!!!!!!!!!!!!!!!!!!!!!!!!!!!!!!!!!!!!!!!!!!!!!!!!!!!!!!!!!!!!!!!!!!!!!!!!!!!!!!!!!!!!!!!!!
2015-03-16 06:23:07  568 ( WARN): Your system kernel may have been updated.
2015-03-16 06:23:07  569 ( WARN): Current kernel (2.6.32-431.1.2.0.1.el6.x86_64) has been changed to: 2.6.32-431.el6.x86_64
2015-03-16 06:23:07  570 ( WARN): Before rebooting the system, please ensure that the installed kernel version is compatible with your deployment.
2015-03-16 06:23:07  580 ( WARN): !!!!!!!!!!!!!!!!!!!!!!!!!!!!!!!!!!!!!!!!!!!!!!!!!!!!!!!!!!!!!!!!!!!!!!!!!!!!!!!!!!!!!!!!!!!!!!!!!!!!!!!!!!!!!!!!
6. Run “/usr/local/cpanel/scripts/configure_firewall_for_cpanel” script to accomplish firewall for cPanel
# /usr/local/cpanel/scripts/configure_firewall_for_cpanel
iptables: Chain already exists.
iptables: Saving firewall rules to /etc/sysconfig/iptables:[  OK  ]
iptables: Setting chains to policy ACCEPT: nat filter      [  OK  ]
iptables: Flushing firewall rules:                         [  OK  ]
iptables: Unloading modules:                               [  OK  ]
iptables: Applying firewall rules:                         [  OK  ]
ip6tables: Chain already exists.
ip6tables: Saving firewall rules to /etc/sysconfig/ip6table[  OK  ]
ip6tables: Setting chains to policy ACCEPT: filter         [  OK  ]
ip6tables: Flushing firewall rules:                        [  OK  ]
ip6tables: Unloading modules:                              [  OK  ]
ip6tables: Applying firewall rules:                        [  OK  ]
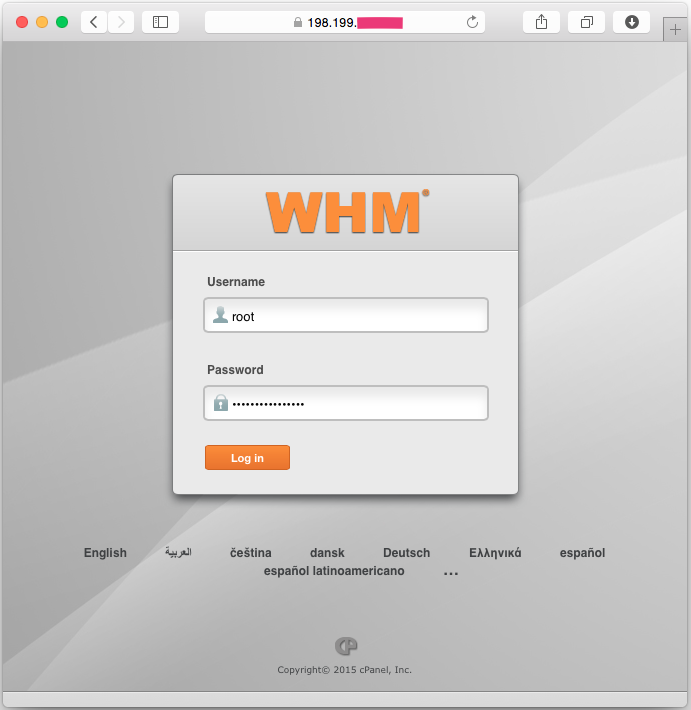
7. You can now test to access the WHM using a browser using https and port 2087. Use the same as system root account.
Hopefully this short tutorial is helpful for you on how to install cPanel & WHM on CentOS 6.6.