In this post I will show you how to install Android 6 Marshmallow on Nexus 5. The tutorial should also work on any other Nexus devices that support Marshmallow such as Nexus 6, Nexus 7, Nexus 9, and Nexus Player.
Google officially released Android 6 Marshmallow in October 5th. It comes to bring new features such as Google Now on Tap, Fingerprint support, USB type-C, Battery life improvement and more. So it is worth to upgrade to Android Marshmallow for all Android users.
I assume that your Nexus 5 is running the latest official Android 5.x Lollipop and not rooted before.
Requirements
To install Android 6.0 Marshmallow on Nexus 5, you need 3 files (tools / programs) as follows:
1. Minimal ADB and Fastboot tool (download it from XDA developers forums here)
2. Google USB Driver (download the latest driver)
3. Android 6 Marshmallow Factory image for Nexus 5. You can find all factory images for Nexus devices on Google Developer page.
Note that you also need an unpack tool to extract the .zip and .tgz files. You can use WinRar to do it if you are using Windows operating system. Grab it from rarlab.com.
Lets start with the installation process
Install the Minimal ADB and Fastboot tool
Double click “minimal_adb_fastboot_v1.3.1_setup.exe” file to install it. Just accept the default setting so it will be installed in “C:Program FilesMinimal ADB and Fastboot”
Install Google USB Driver
Unpack the “latest_usb_driver_windows.zip” file. Before connecting Nexus 5 to computer, make sure that you have enabled “USB Debugging”.
Connect the Nexus 5 to computer using USB cable. It will try to automatically install the driver. Go to “Device Manager”, right-click on the ‘Nexus 5’ under “Other devices” the select “Update Driver Software”
Set the driver software location to “pathtoextractedusb_driver” and tick the “Include Subfolders” option. It will install the USB driver for Nexus 5.
Install Android 6.0 Marshmallow
Unpack the “hammerhead-mra58k-factory-52364034.tgz” and copy all the unpacked files to the installed Minimal ADB and Fastboot directory (“C:Program FilesMinimal ADB and Fastboot”)
Open Windows Command prompt and go to “C:Program FilesMinimal ADB and Fastboot” then type “adb reboot bootloader” to reboot Nexus 5 into Fastboot Mode.
If you encounter error like below, check the device to allow USB debugging.
c:Program FilesMinimal ADB and Fastboot>adb reboot bootloader
* daemon not running. starting it now on port 5037 *
* daemon started successfully *
error: device unauthorized.
This adbd's $ADB_VENDOR_KEYS is not set; try 'adb kill-server' if that seems wrong.
Otherwise check for a confirmation dialog on your device.
c:Program FilesMinimal ADB and Fastboot>
Then re-run “adb reboot bootloader” after allowing USB debugging.
The device should boot into fastboot mode. You can see that the Lock State of the device is ‘locked’. You need to unlock it first before installing or flashing Android M into Nexus 5 device.
Type “fastboot oem unlock” to unlock the device. A warning message will show up in the device. Use Volume Down/Up buttons to select Yes or No then press Power button to continue.
The lock state should now be unlocked. See image below:
Now type “flash-all” to start flashing Android M into Nexus 5.
Just sit back and relax since this process will take couple of minutes. Nexus 5 device will automatically reboot and updating to the new operating system.
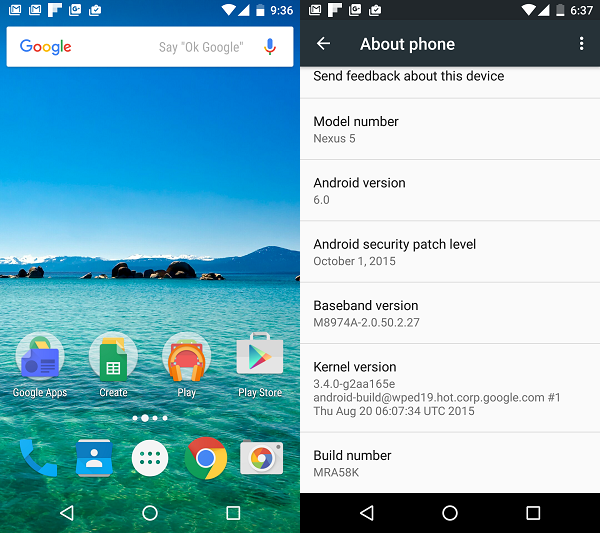
Below is a screenshot of Android 6 Marshmallow running on my Nexus 5.
Hopefully this post is helpful. Enjoy your Nexus 5 with the new Android 6 Marshmallow.