Google Analytics is a free web-based service offered and developed by Google that generates detailed statistics about the visitors to a website. You can see your visitors where they are coming from, the geographic locations of the visitors, the search terms they are searching for, and more. From the visitors behavior we can analyze how we can improve or increase the website visitors and make more revenue from our websites.
In this tutorial, we will discus on how to install Google Analytics on a website / blog so we can see detailed statistics about the visitors. Here is the step-by-step:
Sign up an Analytics account at http://www.google.com/analytics/
After you finished signing up, go to https://www.google.com/analytics/settings/home
Click the Add new account. The account here means the website / blog that you want to get the statistics.
In the next step, just click the Sign Up button.
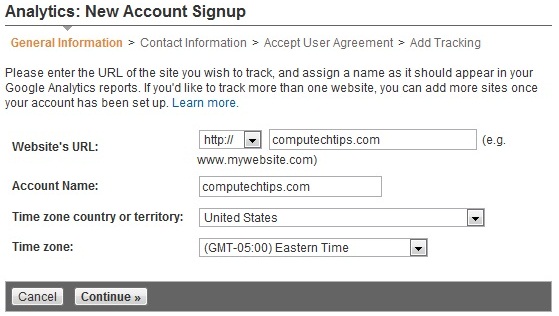
Enter the URL of the website you want to track and name it. You can add more websites once your account has been setup.
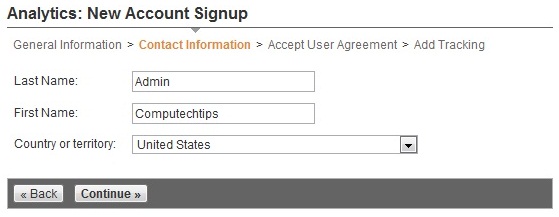
Enter the new account’s contact information.
Accept the agreement and then click the Create New Account button.
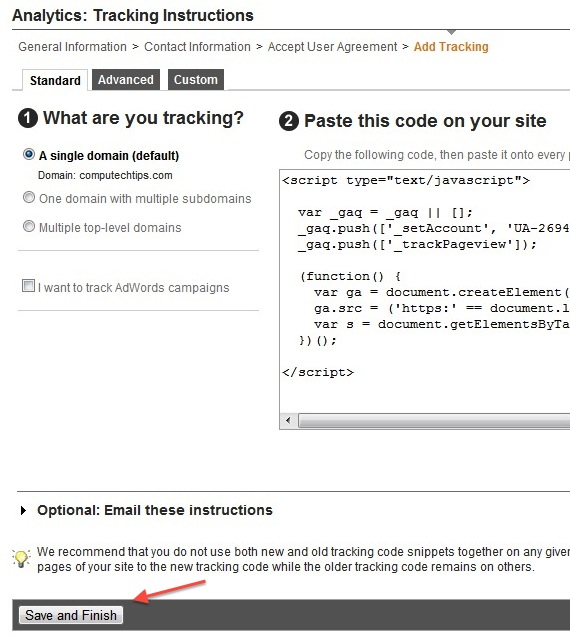
Copy the Google Analytics code and then click Save and Finish button.
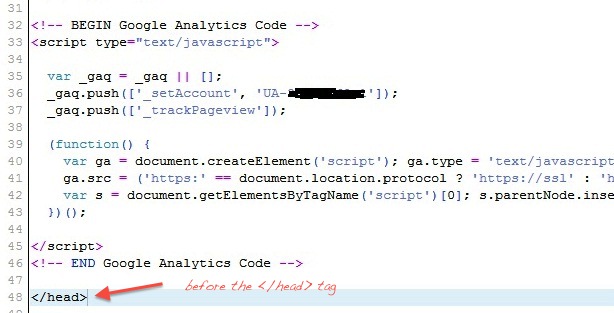
Paste the code into your website or blog before the </head> tag.
You need to wait for couple of minutes / hours to let the Google Analytics tool track the website / blog.


