If you are a web developer which uses Laravel as the framework, you may have heard of Homestead, a Vagrant box which provide you a great Laravel development environment without requiring you to manually install web server (NGINX), PHP, and MySQL/PostgreSQL on your local machine. Thanks to VirtualBox and Vagrant which make it easy to create a such wonderful web development environment.
This article will show you how to setup Laravel Homestead on CentOS 7. I use the latest CentOS 7.2 version. However it should be applicable on CentOS 5 or CentOS 6 or even any newer version of CentOS.
Install VirtualBox
Vagrant will run on top of virtual machine such as VirtualBox or VMWare. We will use VirtualBox because it is free. You can follow my previous article on how to install VirtualBox on CentOS.
Install Vagrant
To install Vagrant, download the package from http://www.vagrantup.com/downloads, at the time of this writing, it is Vagrant version 1.8.1. Install it using rpm tool.
sudo rpm -ivh vagrant_1.8.0_x86_64.rpm
Add Homestead Vagrant Box
After installing the Vagrant package, you are ready to add a Vagrant box, on this tutorial we are adding Homestead Vagrant box. Run the following command to add it.
vagrant box add laravel/homestead
Clone Homestead repository
We need to clone Homestead repository to our local machine. Run the below command to clone Homestead within $HOME/Homestead (/home/your_account_name/Homestead) folder.
git clone https://github.com/laravel/homestead.git Homestead
Then run bash init.sh within Homestead folder to generate Homestead.yaml configuration file which will be stored in $HOME/.homestead folder.
cd Homestead/
bash init.sh
This my Homestead.yaml configuration file.
ip: "192.168.10.10"
memory: 1024
cpus: 1
provider: virtualbox

authorize: ~/.ssh/id_rsa.pub

keys:
    - ~/.ssh/id_rsa

folders:
    - map: ~/Code
      to: /home/vagrant/Code

sites:
    - map: homestead.app
      to: /home/vagrant/Code/Laravel/public
    - map: blog.app
      to: /home/vagrant/Code/blog/public
databases:
    - homestead
As you can see in the above config file, there is an SSH key that you need to generate. Use command below to generate the SSH key.
ssh-keygen -t rsa -C "yourname@gmail.com"
Setup hostname on hosts file
In the sample config file above, there are two sites, homestead.app and blog.app which map to different folder. You need to edit the /etc/hosts file and add the following two lines:
192.168.10.10    laravel.app
192.168.10.10    blog.app
Launch the Vagrant Box
Once configured as in the example above, we are ready to launch the Vagrant box. Run ‘vagrant up‘ within Homestead folder. You should see something like below:
[fuad@centos Homestead]$ vagrant up
Bringing machine 'default' up with 'virtualbox' provider...
==> default: Checking if box 'laravel/homestead' is up to date...
==> default: Clearing any previously set forwarded ports...
==> default: Clearing any previously set network interfaces...
==> default: Preparing network interfaces based on configuration...
    default: Adapter 1: nat
    default: Adapter 2: hostonly
==> default: Forwarding ports...
    default: 80 (guest) => 8000 (host) (adapter 1)
    default: 443 (guest) => 44300 (host) (adapter 1)
    default: 3306 (guest) => 33060 (host) (adapter 1)
    default: 5432 (guest) => 54320 (host) (adapter 1)
    default: 22 (guest) => 2222 (host) (adapter 1)
==> default: Running 'pre-boot' VM customizations...
==> default: Booting VM...
==> default: Waiting for machine to boot. This may take a few minutes...
    default: SSH address: 127.0.0.1:2222
    default: SSH username: vagrant
    default: SSH auth method: private key
==> default: Machine booted and ready!
==> default: Checking for guest additions in VM...
==> default: Setting hostname...
==> default: Configuring and enabling network interfaces...
==> default: Mounting shared folders...
    default: /vagrant => /home/fuad/Homestead
    default: /home/vagrant/Code => /home/fuad/Code
==> default: Machine already provisioned. Run `vagrant provision` or use the `--provision`
==> default: flag to force provisioning. Provisioners marked to run always will still run.
Login to the Homestead vagrant box using ‘vagrant ssh‘ command.
[fuad@centos Homestead]$ vagrant ssh
Welcome to Ubuntu 14.04.3 LTS (GNU/Linux 3.19.0-25-generic x86_64)

 * Documentation:  https://help.ubuntu.com/
Last login: Sun Dec 27 16:16:16 2015 from 10.0.2.2
vagrant@homestead:~$
then create a new Laravel project for example using ‘laravel new blog‘ to create a blog project.
vagrant@homestead:~$ cd Code
vagrant@homestead:~/Code$ laravel new blog
Crafting application...
> php -r "copy('.env.example', '.env');"
> php artisan clear-compiled
PHP Warning:  require(/home/vagrant/Code/blog/bootstrap/../vendor/autoload.php): failed to open stream: No such file or directory in /home/vagrant/Code/blog/bootstrap/autoload.php on line 17

Warning: require(/home/vagrant/Code/blog/bootstrap/../vendor/autoload.php): failed to open stream: No such file or directory in /home/vagrant/Code/blog/bootstrap/autoload.php on line 17
PHP Fatal error:  require(): Failed opening required '/home/vagrant/Code/blog/bootstrap/../vendor/autoload.php' (include_path='.:/usr/share/php:') in /home/vagrant/Code/blog/bootstrap/autoload.php on line 17

Fatal error: require(): Failed opening required '/home/vagrant/Code/blog/bootstrap/../vendor/autoload.php' (include_path='.:/usr/share/php:') in /home/vagrant/Code/blog/bootstrap/autoload.php on line 17
Script php artisan clear-compiled handling the post-install-cmd event returned with an error


                                                                                                                                                                                                       [RuntimeException]
  Error Output: PHP Warning:  require(/home/vagrant/Code/blog/bootstrap/../vendor/autoload.php): failed to open stream: No such file or directory in /home/vagrant/Code/blog/bootstrap/autoload.php on line 17
  PHP Fatal error:  require(): Failed opening required '/home/vagrant/Code/blog/bootstrap/../vendor/autoload.php' (include_path='.:/usr/share/php:') in /home/vagrant/Code/blog/bootstrap/autoload.php on line 17

run-script [--dev] [--no-dev] [-l|--list] [--] [<script>] [<args>]...

Application ready! Build something amazing.
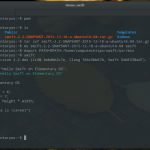
As you can see above, there are error messages while creating new project, however at the end of the line it said “Application ready! Build something amazing“. The error tells us that the files/modules not found. We need to install the modules by just typing ‘composer install‘ within the project folder.
vagrant@homestead:~/Code/blog$ composer install
Loading composer repositories with package information
Installing dependencies (including require-dev) from lock file
  - Installing jakub-onderka/php-console-color (0.1)
    Loading from cache

  - Installing vlucas/phpdotenv (v2.1.0)
    Loading from cache

  - Installing symfony/polyfill-mbstring (v1.0.1)
    Downloading: 100%

  - Installing symfony/var-dumper (v3.0.1)
    Downloading: 100%
[snipped]
phpunit/php-code-coverage suggests installing ext-xdebug (>=2.2.1)
phpunit/phpunit suggests installing phpunit/php-invoker (~1.1)
Generating autoload files
> php artisan clear-compiled
> php artisan optimize
Generating optimized class loader
vagrant@homestead:~/Code/blog$
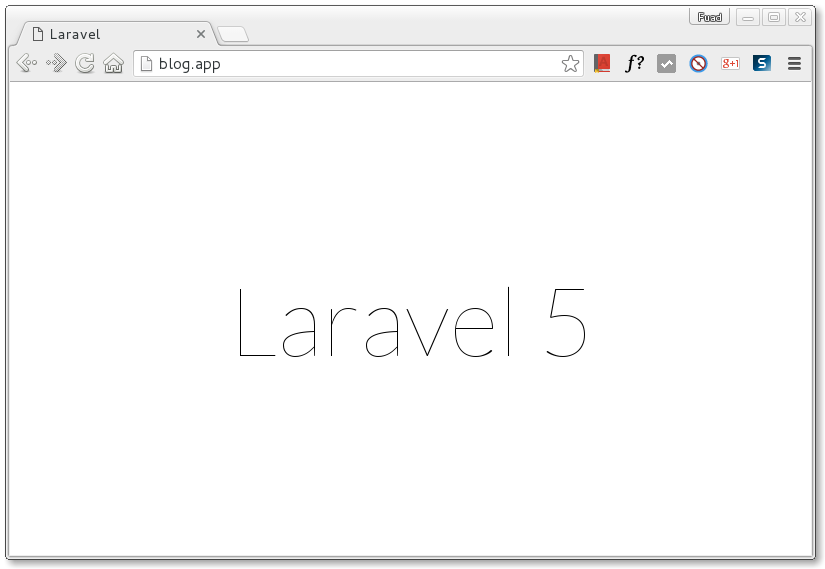
Once the modules installed, your project is ready and can be accessed via browser as below:

Hopefully this article is clear enough for you to setup Laravel Homestead on CentOS 7 operating system.