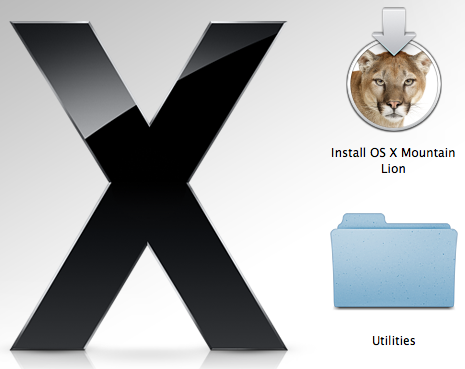
You can buy and download the OS X Mountain Lion from App Store to upgrade your older Mac OS X version. Once it is downloaded, do not continue with the installation step because it will delete the installer file. Skip the step by pressing Quit button.
Copy the ‘Install OS X Mountain Lion’ installer app located in Applications folder to another folder elsewhere because the installer app in the Applications folder will be automatically deleted after upgrading.
If you wish to install / upgrade other Mac computers, you don’t need to re-download from the App Store. You can create a USB stick installer for OS X Mountain Lion. Since the size of the OS X image is more than 4 GB, you need an 8 GB USB flash drive. For example, I use an 8 GB of SanDisk Cruzer Blade.
Here are the step-by-step on how to easily create OS X Mountain Lion USB Boot Disk / Installer
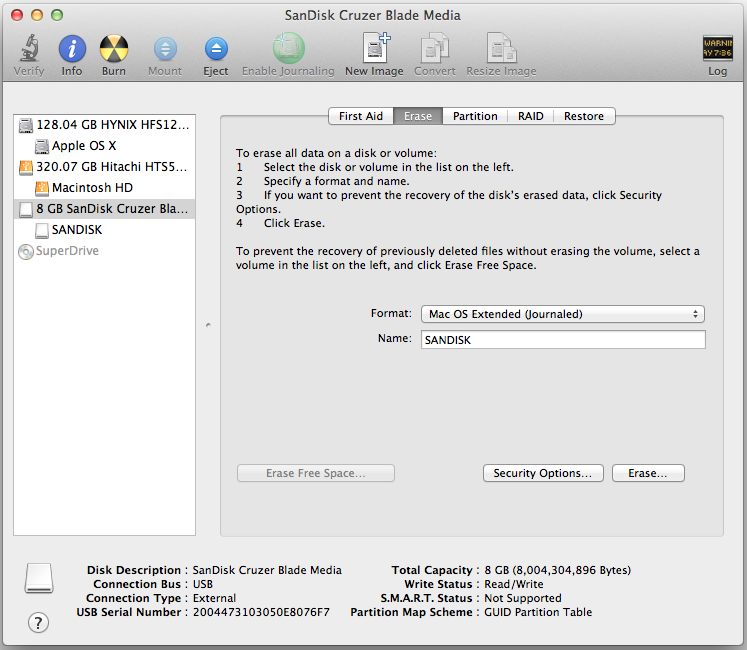
1. Format the USB flash disk with Mac OS Extended (Journaled) file system type using Disk Utility
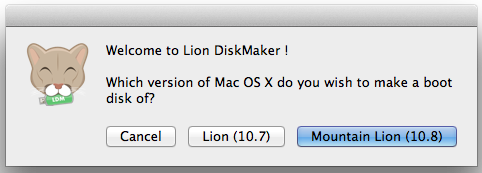
2. Download Lion DiskMaker. Unzip and run the application, and then select which OS X version you want to make a boot disk of. This application is able to create a boot disk of Lion (10.7) and Mountain Lion (10.8)
3. After you click one of the version of OS X above, the application is smart enough to search and detect the available image in the HDD or SSD. Make sure that the path is correct and then click ‘Create a boot disk’ button.

4. Select the kind of disk you will use for the boot disk. As I use an 8 GB of SanDisk, I select the ‘An 8 GB USB thumb drive’ button. Confirm with the USB thumb disk selection in the next step.

5. You will be warned that the whole content of data in the USB thumb drive will be erased. Click ‘Erase then create the disk’ button

6. The Lion DiskMaker is creating the disk. At this step, it may take a long time (15 minutes or more) while copying the files. Please wait and be patient!

7. After a couple of minutes, the OS X USB boot disk is ready. To use it, reboot your Mac and press Option key while booting. You can also select it in the Startup Disk preference for the next boot.

I hope this step-by-step with image explanation is very clear for you when creating a USB boot disk for your Mac.